Localize Your .NET MAUI MVVM Application

In this post, I'll describe how to translate all strings used within your .NET MAUI application (for apps built using the MVVM design pattern).
In general, your UI will include strings from three main sources:
- Static string values in XAML
- Strings that depend on the view model
- Strings defined in third-party UI components
While all these sources may require different localization techniques, you can avoid unnecessary complexity and store all localization strings in one location – within project resources (resx files).
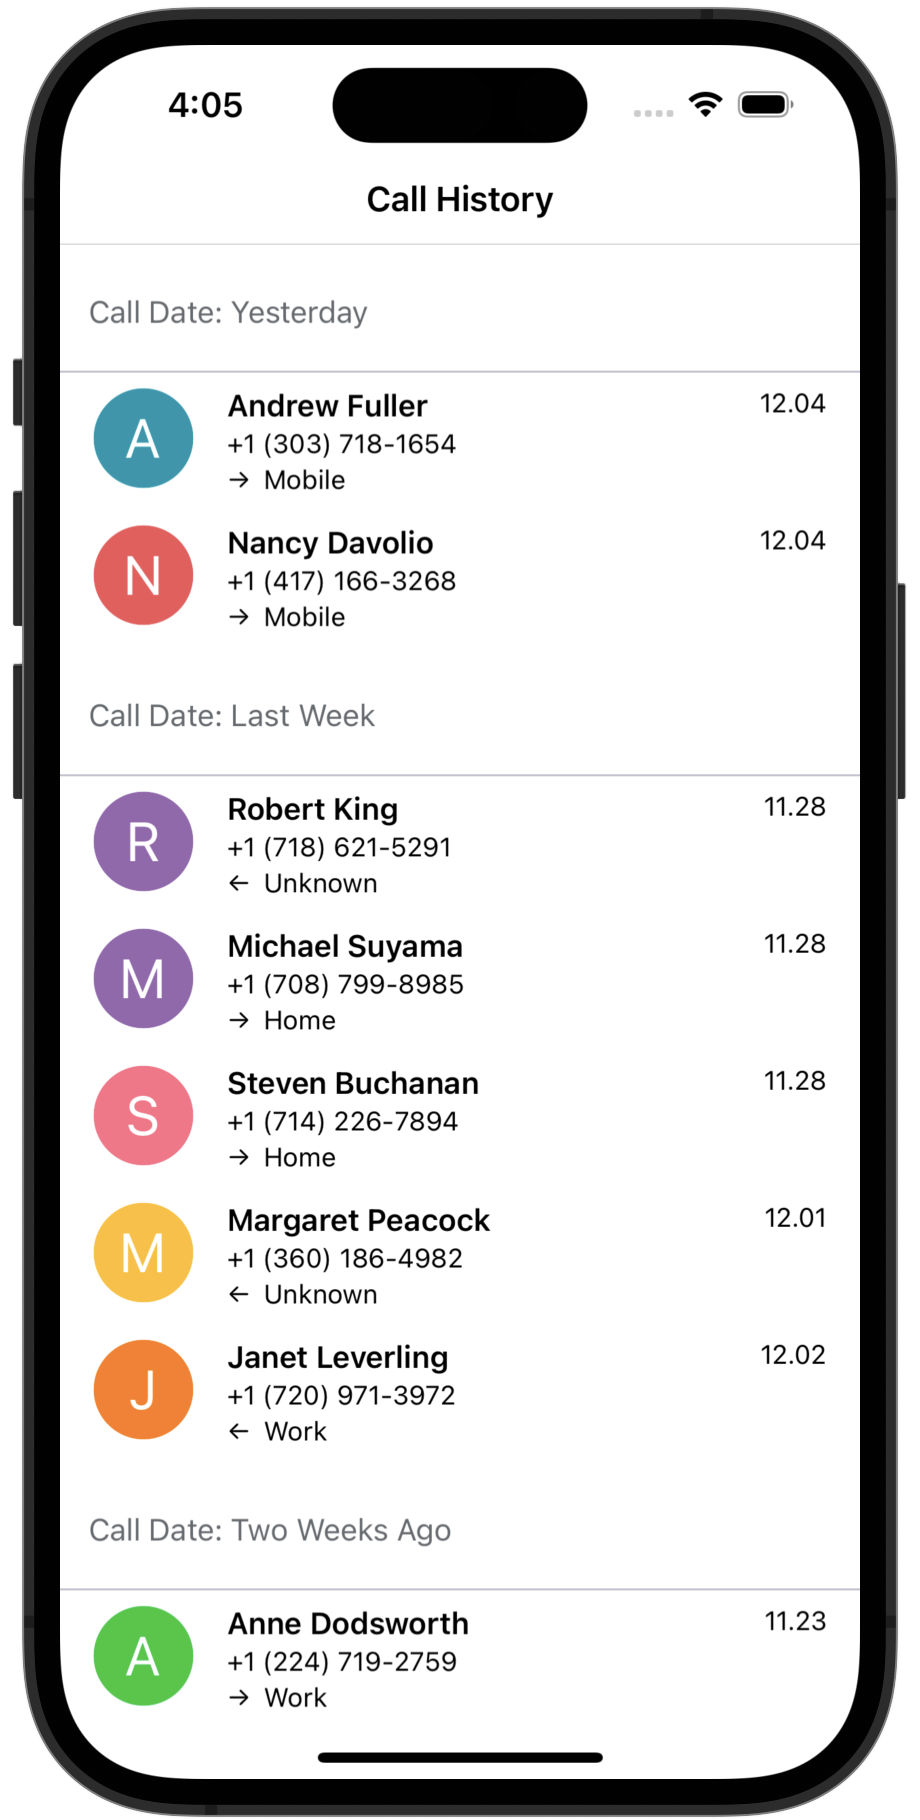
As a starting point for this post, I'll localize a simple phone logging app into Spanish. The mobile app uses the CollectionView control to display phone call information. This control ships as part of DevExpress .NET MAUI Library.
Add Localization
The app will use localization resources to localize application Title and call information text. To begin, let’s add localization strings for these elements.
-
In the Resources folder, add a new Localization folder.
-
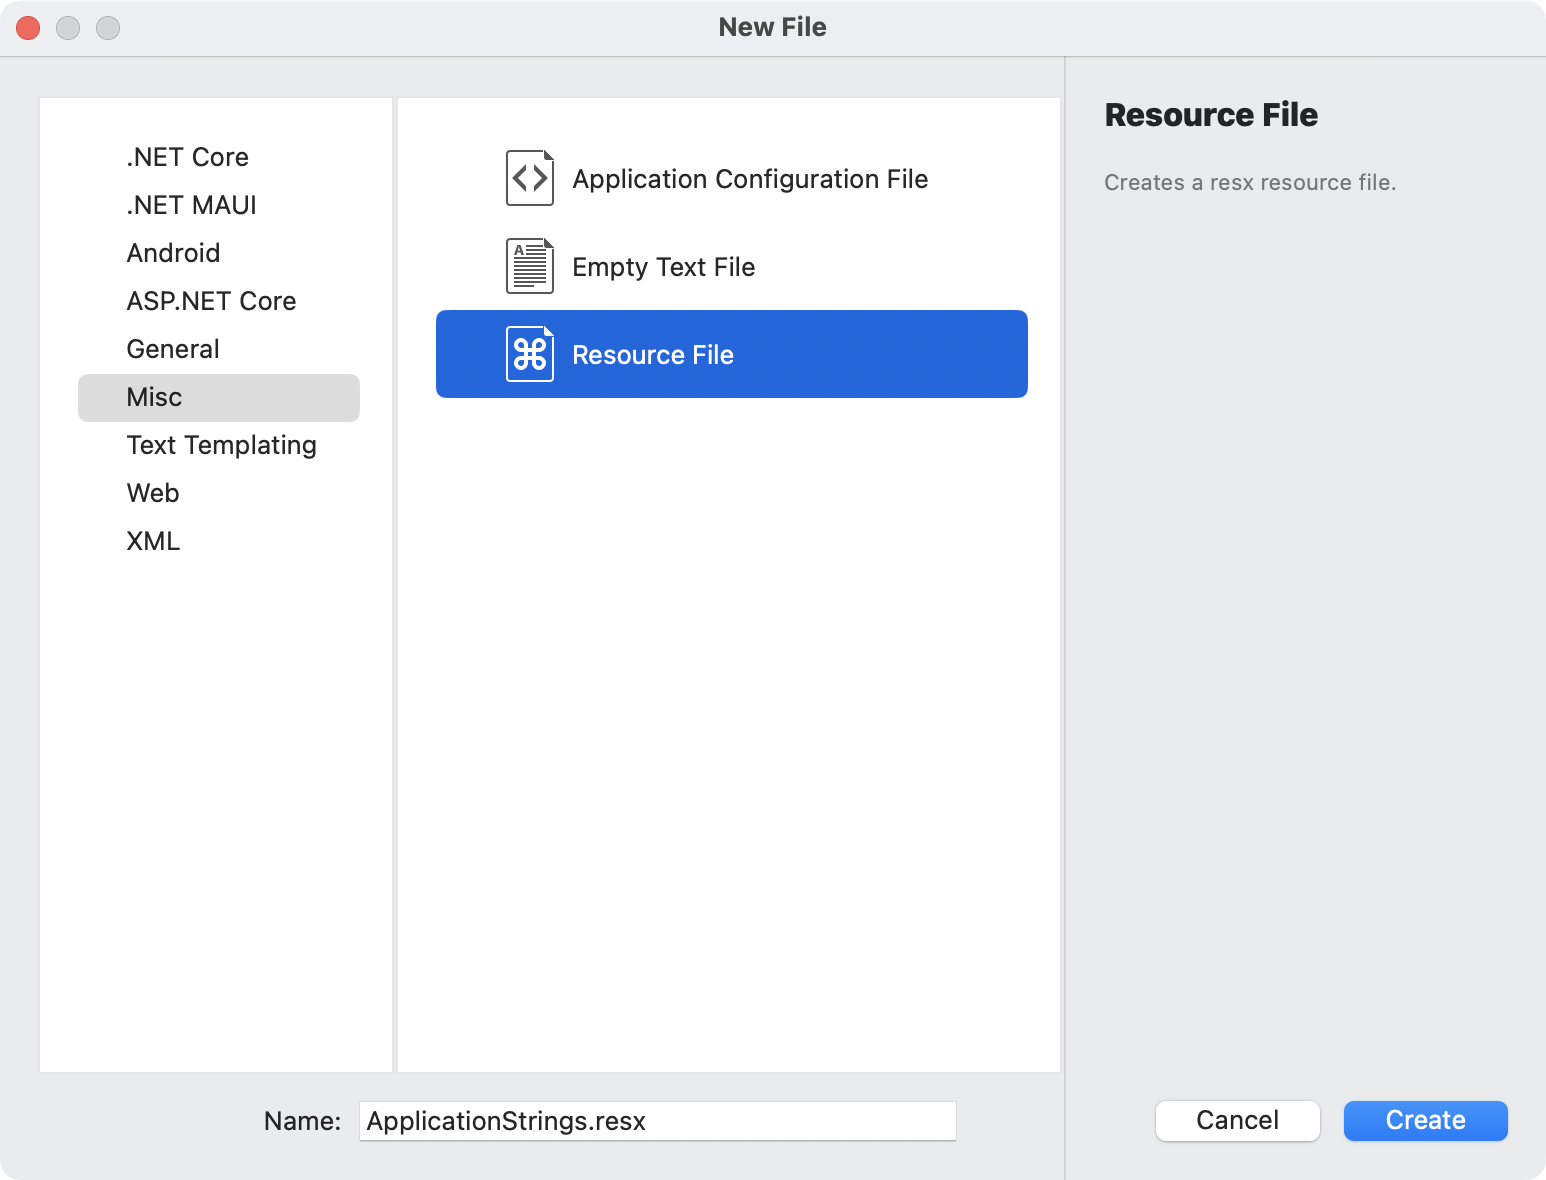
In the Visual Studio Solution Explorer, right click the Resources\Localization folder and select Add > New Item > Misc > Resource File. Name the file ApplicationStrings.resx. This file contains custom localization strings for the English language.
-
Open the ApplicationStrings.resx file and add the following strings:
<!-- ... --> <data name="ViewTitle" xml:space="preserve"> <value>Call History</value> </data> <data name="NumberType_Mobile" xml:space="preserve"> <value>Mobile</value> </data> <data name="NumberType_Work" xml:space="preserve"> <value>Work</value> </data> <data name="NumberType_Home" xml:space="preserve"> <value>Home</value> </data> <data name="NumberType_Unknown" xml:space="preserve"> <value>Unknown</value> </data> -
Create a copy of the ApplicationStrings.resx file and rename it to ApplicationStrings.es.resx. This file will contain custom localization strings for the Spanish language.
-
Open the ApplicationStrings.es.resx file and change resource values to Spanish:
     <!-- ... -->
     <data name="ViewTitle" xml:space="preserve">
        <value>Historial de llamadas</value>
     </data>
     <data name="NumberType_Mobile" xml:space="preserve">
        <value>Móvil</value>
     </data>
     <data name="NumberType_Work" xml:space="preserve">
        <value>Trabajo</value>
     </data>
     <data name="NumberType_Home" xml:space="preserve">
        <value>Casa</value>
     </data>
     <data name="NumberType_Unknown" xml:space="preserve">
        <value>Desconocido</value>
     </data>
Use Localization Resources in the Application
Newly created localization resources are not used in the application just yet. To use the new resources, we must:
Open the XAML code of our view and add the following xaml namespace. Once complete, we can use the ViewTitle localization resource in the application.
<ContentPage ...
	   xmlns:localization="clr-namespace:LocalizeApplication.Resources.Localization"
	   Title="{x:Static localization:ApplicationStrings.ViewTitle}">
       ...
</ContentPage>
Use Custom Resources in ViewModel
Call information is specified in the ViewModel. To localize this information, we need to pass the localized strings from the resource to viewmodel values.
public CollectionViewModel() {
   Calls = new List<CallData>() {
      new CallData() {
         ...
         LocalizedNumberType = LocalizeEnumHelper.GetLocalizedString(NumberTypes.Mobile)
      },
      ...
   }
}
Note that the LocalizedNumberType property is a string. In this application, we use the LocalizeEnumHelper.GetLocalizedString method to obtain the localized string based on the NumberTypes enum value. Let's take a look under the hood of this method:
public static class LocalizeEnumHelper{
   public static string GetLocalizedString(NumberTypes numbertype) {
      switch (numbertype) {
         case NumberTypes.Mobile: return Resources.ApplicationStrings.Localization.NumberType_Mobile;
         case NumberTypes.Home: return Resources.ApplicationStrings.Localization.NumberType_Home;
         case NumberTypes.Work: return Resources.ApplicationStrings.Localization.NumberType_Work;
         case NumberTypes.Unknown: return Resources.ApplicationStrings.Localization.NumberType_Unknown;
         default: throw new ArgumentOutOfRangeException("numbertype");
      }
   }
}
The application takes its localization strings from the ApplicationStrings.resx or ApplicationStrings.es.resx file based on device culture.
Enable DevExpress .NET MAUI Component Localization
The most recent version of our .NET MAUI Controls (v22.2) includes a new localization mechanism based on resource files (satellite assemblies). Our .NET MAUI controls include localization resources for English (default language), German, and French, but you can localize each string into any language.
In the MauiProgram.cs file, call the .UseDevExpress method with the useLocalization parameter set to true.
public static MauiApp CreateMauiApp()
   var builder = MauiApp.CreateBuilder();
      builder
      .UseMauiApp<App>()
      .UseDevExpress(useLocalization: true)
      ...
   );
   return builder.Build();
}
Add and Customize DevExpress Localization Resources
-
Add the DevExpressMaui.resx file from the DevExpress .NET MAUI Controls - Localization Resources GitHub repository to the Resources\Localization folder of the project.
This file contains the localization resources for the English language. Since our controls do not include localization resources for the Spanish language, we will need to create them.
-
In the App.xaml.cs, specify resource file location. This step is required because our resources are no longer stored not in the Resources folder (their default location).
public partial class App : Application { public App() { Localizer.StringLoader = new ResourceStringLoader(LocalizeApplication.Resources.Localization.DevExpressMaui.ResourceManager); InitializeComponent(); ... } } -
Copy the DevExpressMaui.resx file and rename it to DevExpressMaui.es.resx.
-
Open the file and translate localization strings used in the application. In this instance, we need to translate
CollectionViewStringId.GroupCaptionDisplayFormatandCollectionViewStringId.OutlookIntervals. These resources are used to localize the Group Caption in the CollectionView.<data name="CollectionViewStringId.GroupCaptionDisplayFormat" xml:space="preserve"> <value>{1}</value> </data> <data name="CollectionViewStringId.OutlookIntervals" xml:space="preserve"> <value>Más antiguo;Último mes;A principios de este mes;Hace tres semanas;Hace dos semanas;Semana pasada;Domingo;Lunes;Martes;Miércoles;Jueves;Viernes;Sábado;Ayer;Hoy;Mañana;;;;;;;;Próxima semana;Faltan dos semanas;Faltan tres semanas ;Más tarde este mes;Próximo mes;Más allá del próximo mes;</value> </data>
Once complete, we can run the application on devices whose language is set to Spanish.

Note: If your application was running when device language changed, you’ll need to restart the application to apply the new language.
See Also
- Localization Resource Repository
- More GitHub Examples on .NET MAUI Localization
- Localization Help Topic
