Reporting — Early Access Preview (v23.2) — Native Angular Report Viewer, Drill-Through Reports, Important Changes and more...

Our next major update (v23.2) is set for release in December. This post describes a number of Reporting-related features we expect to ship in December and details what’s inside our current Early Access Preview build v23.2. For additional information on what you can expect, please refer to our v23.2 roadmap.
Reporting for WinForms — Drill-Through Reports
As you'll see below, we added the ability to click on a report element and navigate to another detail report. v23.2 includes an Action property for all major XRControls such as XRTable, XRTableRow, XRLabel, and more.
Assign the Action property to access the following settings:
NavigateToReportAction.ParameterBindings
Allows you to obtain a collection of detail report parameter bindings.NavigateToReportAction.ReportSource
Gets or sets a detail XtraReport class instance for navigation purposes.NavigateToReportAction.ReportSourceUrl
Gets or sets a URL or path that specifies a detail report’s location for navigation purposes.
The image below illustrates how to define master-detail relationships between Category and Product reports within a single project. Select the XRTableCell element in the original report and set its Action property to Navigate to Report Action. Once complete, assign the ReportSource property to a detail report instance.
When you switch to the preview, you can now click on the Category value in the table and navigate to the detail report that contains Product values.
A Breadcrumb control automatically appears below the Document Viewer toolbar and allows you to navigate back to the original report.
Parameters in Drill-Through Reports
If you need to specify parameters during detail report navigation, use parameter bindings (this capability was inspired by master-detail reports: Create Subreport Parameter Binding).
For example, you can use the ParameterBindings property to limit displayed records (such as products) to a selected category. To invoke the Parameter Binding Collection Editor, click the ellipsis button in the Parameter Bindings property. Within this editor, click the Sync button to automatically obtain detail report parameters and set Binding to the data field or parameter of the original report.
Once complete, set Binding to the CategoryID field.
Finally, set the following filter string in the detail report to display product records for the selected category.

At this point, when you switch to the preview and click on the category of the original report, you will see the product records related to the selected category (within the detail report).
The following code snippet implements this same capability at runtime:
using DevExpress.XtraReports.Interactivity;
using DevExpress.XtraReports.UI;

namespace Drill_through_example {
    public partial class XtraReportCategories : DevExpress.XtraReports.UI.XtraReport {
        public XtraReportCategories(){
            InitializeComponent();

            // Create a NavigateToReportAction instance and specify its settings
            NavigateToReportAction cellAction = new NavigateToReportAction();
            cellAction.ReportSource = new XtraReportProducts();
            cellAction.ParameterBindings.Add(new ParameterBinding(parameterName: "categoryId",
            	sqlDataSource1, "Categories.CategoryID"));

            // Assign the NavigateToReportAction object to the control’s Action property
            tableCell6.Action = cellAction;

        }
    }

    public partial class XtraReportProducts : DevExpress.XtraReports.UI.XtraReport {
        public XtraReportProducts(){
            InitializeComponent();
            FilterString = "[CategoryID] = ?categoryId";
        }
    }
}
EPC QR Code Support
We extended barcode generation support and now allow you to create EPC QR Codes. EPC QR Code can generate a barcode that includes all relevant data for a SEPA credit transfer. Please note that QR Code data must conform to the European Payments Council guideline: Guidelines to Enable the Data Capture for the Initiation of a SEPA Credit Transfer.
Create an EPC QR Code
In the Report Designer, drag the XRBarCode item from the toolbox and drop it onto the report area:

Set the Symbology property of the control to EPC QR Code and specify barcode properties.

In code, you can specify barcode data using one of the following:
Pass the data string to the
Textproperty. Data elements should be separated by line feed or carriage return characters.The following code creates an EPC QR Code barcode and specifies its properties:
using DevExpress.XtraPrinting.BarCode;
using DevExpress.XtraPrinting.BarCode.EPC;
using DevExpress.XtraReports.UI;
// ...

XRBarCode barCode = new XRBarCode();
barCode.Symbology = new QRCodeEPCGenerator();
barCode.Text = "BCD\r\n001\r\n1\r\nSCT\r\nBPOTBEB1\r\nRed Cross of Belgium\r\nBE72000000001616\r\nEUR1\r\nCHAR\r\n\r\nUrgency fund\r\nSample EPC QR code";
// ...
You can use an
EPCDataConverterclass instance to convert data elements to a formatted string for the EPC QR Code. Pass the result to theTextproperty.The following code creates an EPC QR Code barcode and specifies its properties:
using DevExpress.XtraPrinting.BarCode;
using DevExpress.XtraPrinting.BarCode.EPC;
using DevExpress.XtraReports.UI;
// ...

XRBarCode barCode = new XRBarCode();
barCode.Symbology = new QRCodeEPCGenerator();
var epcData = new EPCDataConverter() {
	TransferAmount = 20, BeneficiaryName = "Red Cross of Belgium", BIC = "BPOTBEB1",
    	PaymentReference = "Empty line or REFINVOICE", IBAN = "BE72000000001616" };
barCode.Text = epcData.StringData;
// ...
You can also use the BinaryData property to code a byte array into a bar code.
Reporting for Blazor — JS-Based Components Enhancements
In-browser Document Generation and Export (Blazor WebAssembly)
You can now use JavaScript-based Blazor Web Report Designer and Document Viewer components to generate and export documents directly in the browser. Additionally, print preview support within the Web Report Designer is now fully functional for WebAssembly-powered apps.
No Need for ASP.NET Core MVC Controllers
We've simplified project configuration for Blazor Server apps. With our v23.2 update, you will no longer need to configure ASP.NET Core MVC controllers to use Blazor Report Designer and Document Viewer. The components themselves now handle all client-side requests within a single service scope.
Web Report Designer — Smart Tags and Context Menus
v23.2 will include a reimagined Properties panel UI. With these changes, popular actions/tasks associated with report controls will be just one click away.
Context Menu Enhancements
Right-click the report control to open the context menu with control actions. As you can see, we moved actions from the Properties Panel to the context menu so that you can access control actions more efficiently.

To insert a band into a report, right-click the band header or an empty report area:

Context menus are also available for Field List and Report Explorer panel elements. For instance, you can now easily insert a report band with the Report Explorer context menu:

Smart Tag Enhancements
The gear icon associated with our report control now opens a popup for quick access to control properties:
Complex properties (e.g. Symbology for a Barcode control) need to be configured in the Properties Panel. To evaluate this feature:
- Navigate to the following online demo: DevExpress Reporting v23.2 – Preview Demo
- Use web demos in our Demo Center (Early Access build installation is required to open demos)
- Update your application to v23.2 (please make sure to backup the app before updating)
Reporting for Angular — Native Report Viewer
As you may know, we've been redesigning JavaScript-specific Report Viewers for the following reasons:
- Our current implementation relies on the KO (Knockout.js) library — a library that is no longer maintained. The use of unsupported libraries may lead to undesired maintenance issues for both our customers and the development team.
- Lack of the native development methodologies: customers may be unable to take full advantage of JavaScript framework capabilities, resulting in reduced performance, or integration challenges.
The first in our series of native JavaScript components will be our Native Angular Report Viewer. We targeted Angular because of our large Angular customer base. The native Angular Report Viewer does not rely on KO (Knockout.js) library. We implemented a simpler internal component architecture that allows components to be built on other JavaScript platforms with minimal code extensions (alongside improved typing and template handling).
The new component delivers the same functionality and appearance as previous versions. What has changed is the way in which the component is customized:
- We have moved from observable KO properties to regular properties. With v23.2, all view models are independent of the Knockout library, so we can use native rendering for different platforms. We also removed the Knockout library from base models. Although the library still exists in the devexpress-reporting-angular NPM package (due to Web Report Designer dependencies), it is not used by the Angular Report Viewer component.
- Instead of working with observables, you can now work with our event mechanism to track changes.
- We have implemented a mechanism to register native Angular components as templates for the Angular Report Viewer.
Angular Report Viewer - What Changed?
Properties
- Before:
function beforeRender(sender, args) { const reportPreview = sender.GetReportPreview(); reportPreview.zoom(0.5); reportPreview.showMultipagePreview(true); const tabPanel = sender.GetPreviewModel().tabPanel; tabPanel.width(600); } - After:
function beforeRender(sender, args) {
    const reportPreview = sender.GetReportPreview();
    reportPreview.zoom = 0.5;
    reportPreview.showMultipagePreview = true;

    const tabPanel = sender.GetPreviewModel().tabPanel;
    tabPanel.width = 600;
}
Parameters
- Before:
function ParametersInitialized(sender, args) { var parameter1 = args.ActualParametersInfo.filter( x => x.parameterDescriptor.name == "Person1")[0]; var parameter2 = args.ActualParametersInfo.filter( x => x.parameterDescriptor.name == "Person2")[0]; var preValue = null; parameter1.value.subscribe(function (newVal) { var lookUps = parameter2.lookUpValues().filter( x => x.value != newVal); preValue && lookUps.push(preValue); preValue = parameter2.lookUpValues().filter( x => x.value == newVal)[0]; parameter2.lookUpValues(lookUps); }); parameter1.value('Tom'); args.Submit(); } - After:
function ParametersInitialized(sender, args) {
    var parameter1 = args.ActualParametersInfo.filter(
        x => x.parameterDescriptor.name == 'Person1')[0];
    var parameter2 = args.ActualParametersInfo.filter(
        x => x.parameterDescriptor.name == 'Person2')[0];
    var preValue = null;
    parameter1.events.on('propertyChanged', (args) => {
        if(args.propertyName === 'value') {
            const newVal = args.newValue;
            var lookUps = parameter2.lookUpValues.filter(
                x => x.value != newVal);
            preValue && lookUps.push(preValue);
            preValue = parameter2.lookUpValues.filter(
                x => x.value == newVal)[0];
            parameter2.lookUpValues = lookUps;
        }
    });
    parameter1.value = 'Tom';
    args.Submit();
}
Template Customization
Template customization involves the registration of custom templates to use native controls for rendering purposes and connection to the ViewModel to ensure data consistency. The following code snippet registers a custom template in an Angular app:
viewer.component.ts
import { ViewEncapsulation } from '@angular/core';
import { Component } from '@angular/core';

@Component({
    selector: 'viewer',
    templateUrl: './viewer.component.html',
    encapsulation: ViewEncapsulation.None,
    styleUrls: [
        '../../../node_modules/devextreme/dist/css/dx.material.blue.light.css',
        '../../../node_modules/@devexpress/analytics-core/dist/css/dx-analytics.common.css',
        '../../../node_modules/@devexpress/analytics-core/dist/css/dx-analytics.material.blue.light.css',
        '../../../node_modules/devexpress-reporting/dist/css/dx-webdocumentviewer.css'
    ]
})
export class ViewerComponent {
    reportUrl: string = 'TestReport';
    invokeAction: string = '/DXXRDV';
    hostUrl: string = 'http://localhost:1859/';

    onCustomizeParameterEditors(event): void {
        const parameter = event.args.parameter;
        const info = event.args.info;
        if(parameter.type === 'CustomParameterEditorAngular.CustomParameterType') {
            info.editor = { header: 'custom-parameter-text-editor' };
            info.validationRules = info.validationRules || [];
            info.validationRules.push(
                { type: 'email', message: 'Email parameter value has invalid format.' }
            );
        }
    }
}
viewer.component.html
<dx-report-viewer [reporturl]="reportUrl" height="calc(100vh - 40px)">
	<dxrv-request-options [invokeaction]="invokeAction" [host]="hostUrl"></dxrv-request-options>
	<dxrv-callbacks (customizeparametereditors)="onCustomizeParameterEditors($event)"></dxrv-callbacks>
</dx-report-viewer>
app.component.ts
import { AfterViewInit, Component, TemplateRef, ViewChild } from '@angular/core';
import { TemplateEngine } from 'devexpress-reporting-angular/dx-report-viewer';

@Component({
	selector: 'app-root',
	templateUrl: './app.component.html',
	styleUrls: ['./app.component.sass']
})
export class AppComponent implements AfterViewInit {
	title = 'report-viewer-app';
	@ViewChild('myCustomInput') myCustomInput!:TemplateRef<{data: any}>;
	constructor(private _templateEngine: TemplateEngine) {
	}
	ngAfterViewInit(): void {
		this._templateEngine.register('custom-parameter-text-editor', this.myCustomInput);
	}
}
app.component.html
<ng-template #myCustomInput let-data="data">
	<custom-input-component [data]="data"></custom-input-component>
</ng-template>
Please note: to explore this new component, you must install the latest version of the NPM packages:
npm install devextreme@23.2-next @devexpress/analytics-core@23.2-next devexpress-reporting-angular@23.2-next
We would love to hear your feedback on our implementation. Please submit your response to the following survey and let us know where to focus our development efforts in the future.
Reporting for ASP.NET MVC and ASP.NET Web Forms — Improved Content Security Policy Support
As you may already know, a Content Security Policy (CSP) is an additional layer of security that allows a browser to recognize and mitigate certain types of risks. In our previous major release (v23.1), we made it possible to implement a nonce-based approach and disallow inline script and style execution within ASP.NET Core applications.
In our upcoming release v23.2, we've added the ability to implement nonce-based CSP in ASP.NET MVC and ASP.NET WebForms-powered web apps. This new capability allows you to remove the "unsafe-inline" from script-src and style-src directives.
To disable inline styles and execution of inline scripts, you must take the following:
- Generate the nonce value and pass the nonce value to the `Nonce` property of the component.
We are using the phrase
test-random-valueto denote a random value. The nonce value should be random and needs to be dynamically generated as it has to be unique for each HTTP request. - Define a CSP on your page and add the nonce value to
script-srcandstyle-srcdirectives:default-src 'self'; img-src data: https: http:; script-src 'self' 'nonce-test-random-value'; style-src 'self''nonce-test-random-value'; connect-src 'self'; worker-src 'self' blob:; frame-src 'self' blob:; - Explicitly define the height and width of the component with a CSS class and assign the CSS class name to the
CssClassproperty of the component. A CSS class may be as follows:.my-reporting-component { height: 850px; width: 100%; }
The following code snippet configures the Report Designer component in an ASP.NET MVC-powered application:
@Html.DevExpress().ReportDesigner(settings => {
    settings.Name = "ReportDesigner1";
    settings.Nonce = "test-random-value";
    settings.CssClass = "my-reporting-component";
}).BindToUrl("TestReport").GetHtml()
Updated Help System Structure
Starting with v23.2, we partially modified the structure of our online help system.
We combined desktop (WinForms, WPF, WinUI) and Web (Blazor, ASP. NET Core, Angular, React, Vue, ASP.NET Web Forms, and ASP.NET MVC) into subsections and tried to simplify the documentation tree inside each so you can locate information more efficiently. We combined information on common capabilities in the Common Features section and placed it higher in the list. You can find product-specific information in corresponding sections.
We also moved information on macOS/ Linux support and version history higher up the tree. The .NET MAUI section can now be found in the tree root.
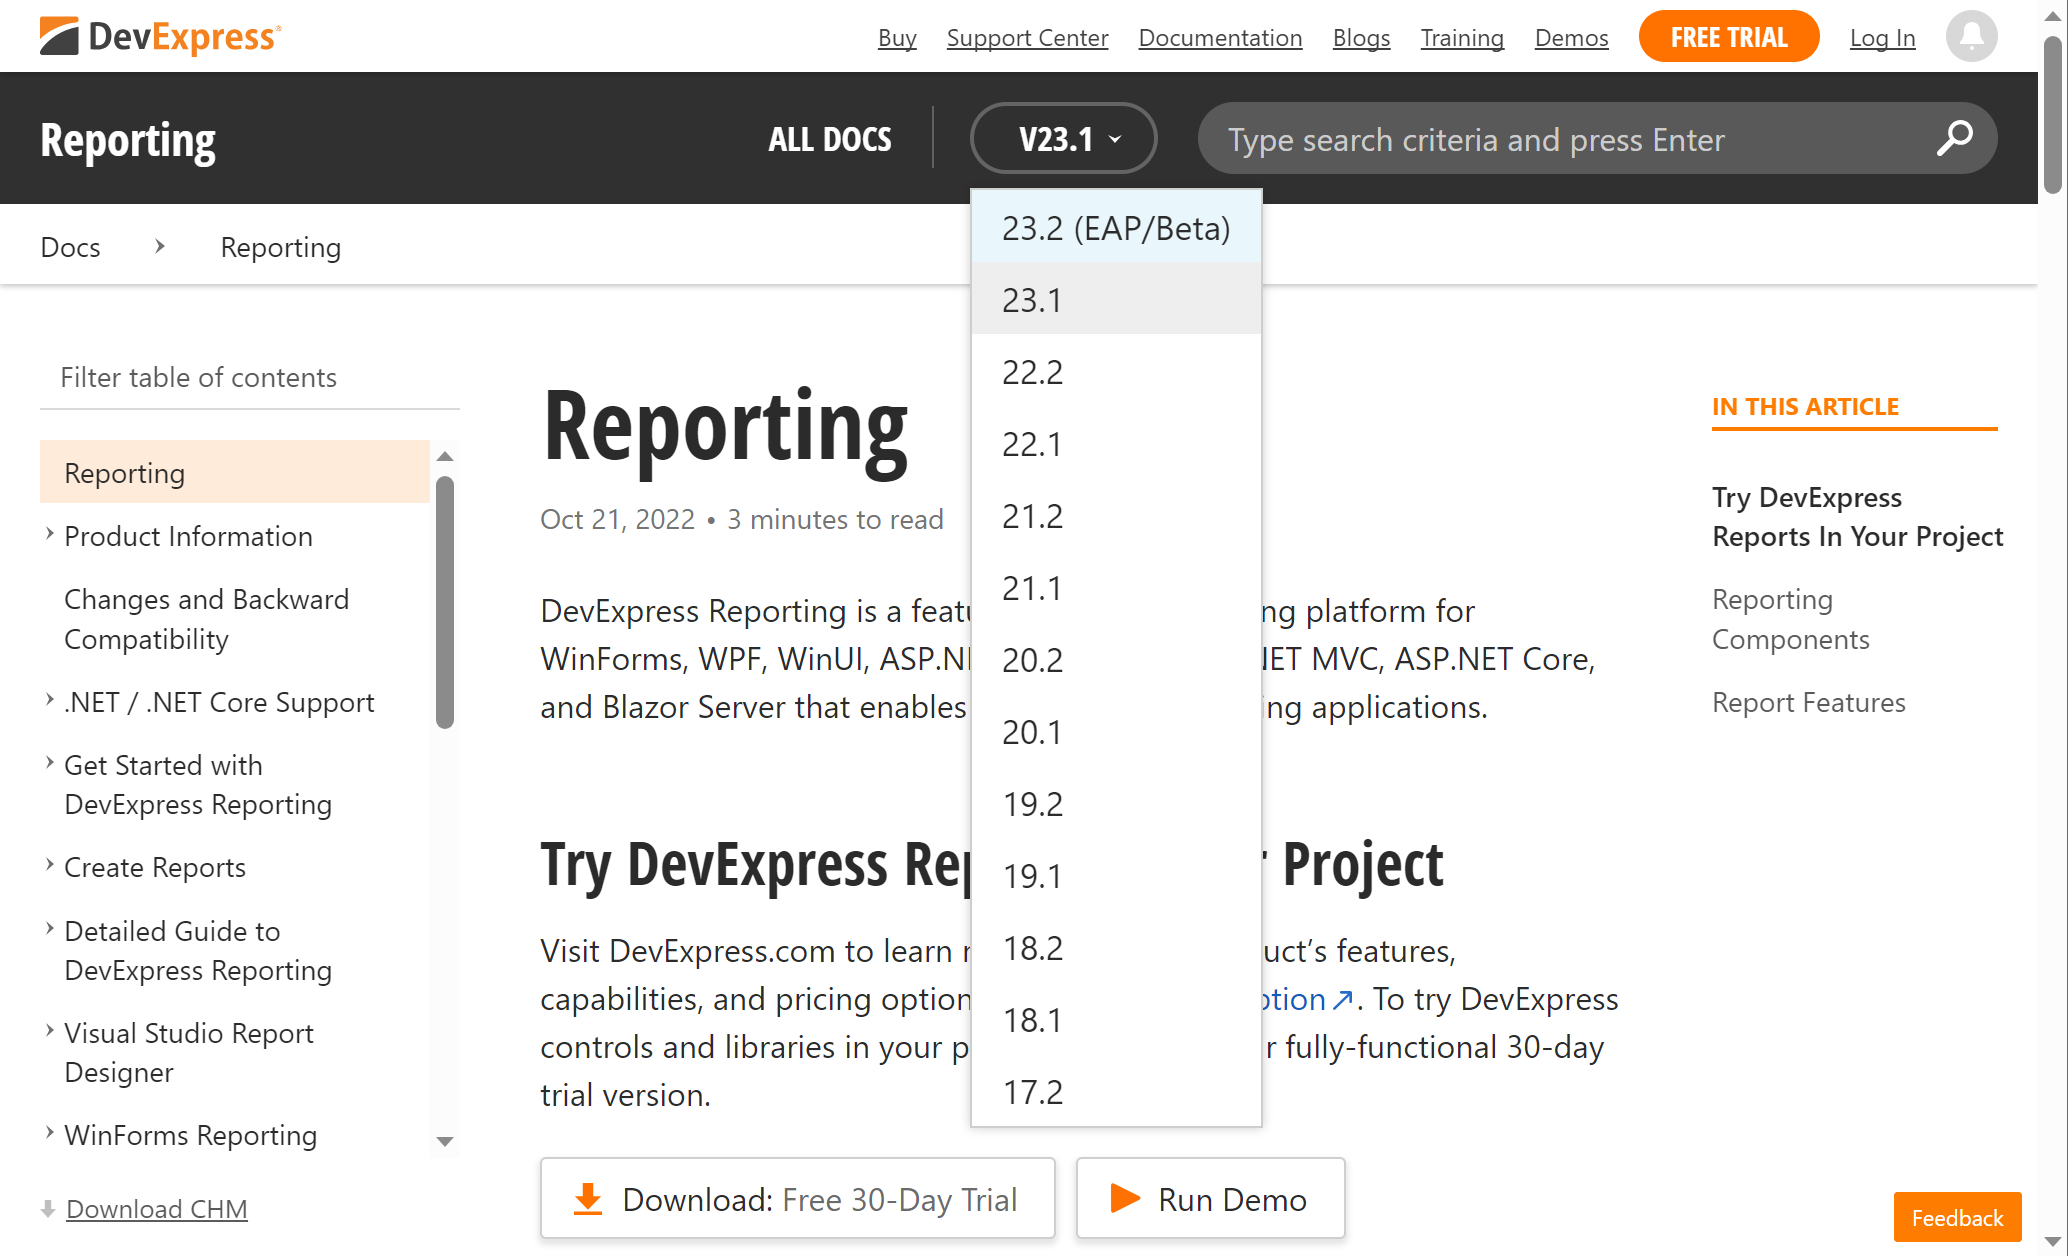
Please review this new structure and let us know if our changes are of value to you. Note: You will need to change the version using the version selector in the toolbar as illustrated in the following screenshot: DevExpress Reporting Documentation v23.2.
Important Changes
Deprecation of the AzureCompatibility Property for Apps Using GDI+ on Linux
As you may already know, several DevExpress products (specifically Reporting, Dashboards, and Office File API) shipped with printing and exporting functionality for restricted environments wherein certain GDI/GDI+ calls are unavailable. The AzureCompatibility.Enable property controlled this capability.
Since the latest version of our tools leverages our cross-platform DevExpress Drawing graphics library, we made the decision to phase out the AzureCompatibility.Enable property toggle for applications deployed to non-Windows environments. We will stop maintaining our internal tests and will no longer address issues associated with this particular feature. We recommend that you transition to the use of the DevExpress.Drawing Graphics Library to ensure continued support. Please remember that our new cross-platform Drawing library offers identical functionality, operates correctly for supported .NET versions (5, 6, 7), and is actively maintained.
Deprecation of the Pango-based Cross-Platform Drawing Engine
As you know, DevExpress Reports was among the first to support non-Windows environments: Reporting — Enhanced Drawing Engine for Linux and macOS (v20.1). Our implementation - designed to address limitations in libgdiplus on non-Windows systems - relies on our proprietary use of Pango library calls (though it still interfaces with libgdiplus). With .NET 6, these library method calls are no longer supported as System.Drawing.Common is only supported on Windows.
We believe it's impractical to sustain this solution for the following reasons:
- Relevant only to applications deployed on non-Windows systems targeting .NET 6 or an earlier version.
- The .NET framework is evolving rapidly, and with the imminent release of .NET 8 LTS in November 2023, it is likely to gain significant traction within the .NET ecosystem.
The DevExpress.CrossPlatform.Printing.DrawingEngine NuGet package, which constitutes a crucial component of this solution, has been deprecated since Summer 2023. Its grace period aligns with that of .NET 6 (until November 2024). We strongly advise all users who rely on the functionality found in this package to transition to the use of the DevExpress.Drawing Graphics Library to ensure continued support.
Your Feedback Matters
As always, we welcome your feedback. Should you encounter an issue while using this DevExpress Reports Early Access Build v23.2, please submit a support ticket via the DevExpress Support Center. We will be happy to follow up.
Free DevExpress Products - Get Your Copy Today
 Polina Fedorova (DevExpress)